KWIC is a powerful communication platform that enables businesses to run targeted WhatsApp campaigns efficiently.
Whether you’re sending individual messages or managing full-scale bulk campaigns, this guide walks you through the entire process step-by-step.
Getting Started with KWIC
Mandatory Requirements
- Template Approval – follow previously provided steps
- Add Contacts – must be completed before launching campaigns
Initial Setup
Login to KWIC Application using your credentials and access the dashboard to begin campaign operations.
Running Single Contact Campaigns
Single contact campaigns are ideal for personalized communication or testing your templates before launching bulk campaigns.
Step-by-Step Process
- Navigate to the Chat section on the dashboard
- Click the + icon on the left side
- Right side panel will show “Send Template”
- Enter WhatsApp number with country code (e.g., +91 for India)
- Choose an approved template
- Click Send Template to deliver your message
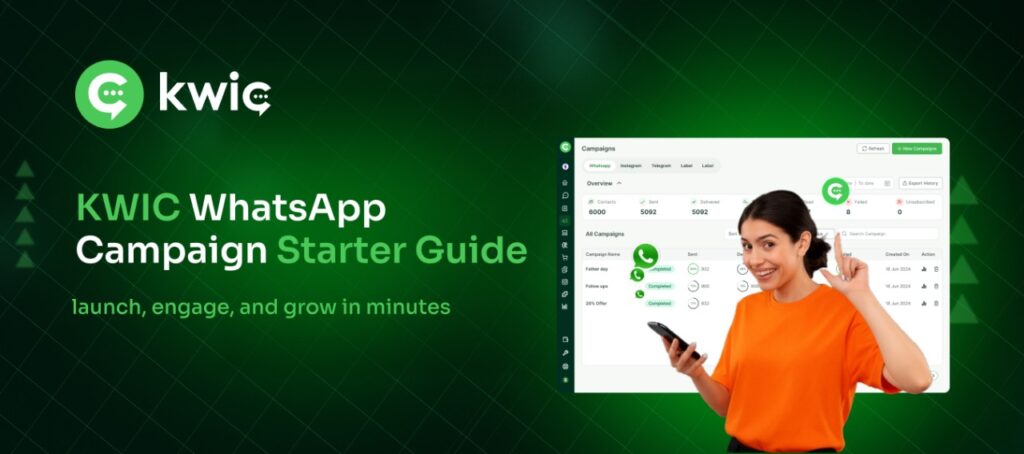
Running Bulk Campaigns
Bulk campaigns help you reach hundreds or thousands of contacts simultaneously — perfect for marketing campaigns, promotions, reminders, or updates.
Mandatory Requirements
- Template Approval
- Contacts Added
- Tags assigned in Tag Manager (under Profile)
Launching Your Bulk Campaign
Step 1: Create Campaign
- Go to Campaign section from main dashboard
- Click + New Campaign
- Enter your campaign name
Step 2: Choose Template
- Select your approved template
- Preview template for confirmation
- Click Next
Step 3: Choose Audience
Filter dialog box opens. Now:
- Select Tag (e.g., Team 1, Team 2)
- Click Apply
- You can filter by date, week, month
- Attribute tag options: Include / Exclude
- Tick the checkbox near “Name” to select contacts
- Click Next
Step 4: Schedule Your Campaign
You can send immediately or schedule for later depending on your marketing strategy.
Option 1: Send Immediately
- Choose Send Now
- Click Publish Campaign
- Campaign launches instantly
- Monitor real-time delivery status
Option 2: Schedule for Later
- Select Schedule option
- Set preferred date & time
- Click Publish Campaign
- System sends automatically at scheduled time