KWIC makes it simple to create and manage templates for WhatsApp communication. Follow this step-by-step guide to create a new template and submit it for approval within the KWIC platform.
Step 1: Log in to the KWIC Application
Log in using your credentials. After logging in, you will land on the dashboard.
Step 2: Navigate to the Template Section
On the left-hand side menu, click “Template” to access the template management area.
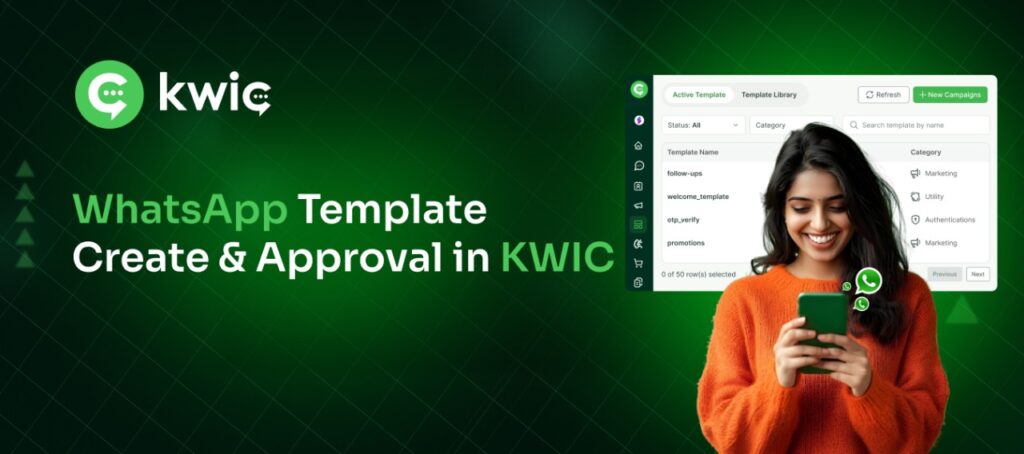
Step 3: Create a New Template
- Left side contains:
- Active Template – templates currently in use
- Template Library – pre-defined KWIC templates
- On the right panel, click “Create Template” to start.
Step 4: Name Your Template
- Enter your template name (Example: “Welcome”).
- Choose a category:
- Marketing
- Utility
- Authentication
- Select your language (e.g., English).
Step 5: Choose Header Components
You can select from the following header types:
- None
- Text (Max 60 characters)
- Image (Max 5MB)
- Video (Max 15MB)
- Document (Max 5MB)
If you choose Text: Enter your header text. A preview appears on the right side.
If you choose Image:
Click “Select File” → Choose your file → Preview appears on the right side.
If you choose Video: Upload max 15MB.
If you choose Document: Upload max 5MB.
Step 6: Add Content
Enter your message content in the Body section.
Add a “Body Sample” (e.g., “Sample”) to show how variables will look.
Step 7: Add Footer and Call-to-Action
Footer: Enter a short keyword or note (example: “Key”).
Call-to-Action Buttons Available:
- Custom Buttons – You can add multiple custom buttons.
- Call Phone Number – Select “Phone” and enter number (e.g., +91…)
- Visit Website – Choose “Website” and enter URL.
- Copy Offer Code – Add coupon or promo codes.
- Flow – Auto-trigger based on keyword typed by user.
- Order Detail – Add order information.
Step 8: Submit for Approval
After verifying all fields:
- Click “Submit for Approval” on the right side.
- The page will refresh.
- Your template enters the approval queue.
Once approved, your template will be available for use in your campaigns.