Setting up a product catalog for WhatsApp Business through the KWIC application enables seamless e-commerce functionality, allowing customers to browse and purchase products directly through WhatsApp. This comprehensive guide walks you through the entire process—from initial setup to automation—ensuring your business can leverage the full potential of WhatsApp commerce.
Step 1: Initial Setup and Verification
KWIC Application Login
Begin by logging into your KWIC Application using your credentials. Once logged in, navigate to the dashboard and locate the e-commerce section. Alternatively, you can access this by going to your profile, selecting the WhatsApp channel, and choosing the catalog option, which provides similar functionality.
Meta Business Suite Configuration
Under your Account Section, select which WhatsApp Business account you need to implement the catalog for. Navigate to the WhatsApp Manager and ensure you choose the correct phone number associated with your business. On the left side of the interface, click the menu icon and select Commerce Manager to proceed with the catalog setup.
Step 2: Commerce Manager Setup
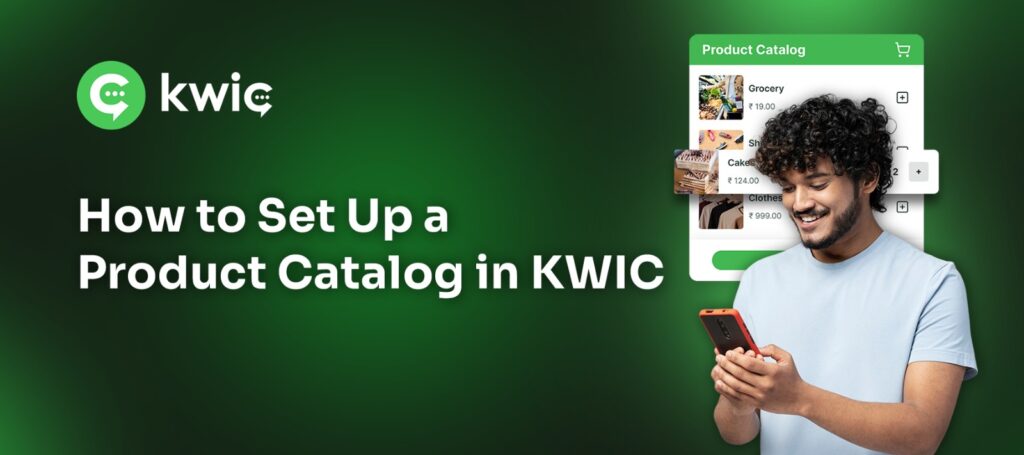
Creating Your First Product Catalog
If you are new to adding products, the system will navigate you to the Catalog type selection. Choose from options such as online products, local products, or other relevant categories based on your business model. Select your business portfolio and provide a name for your catalog, then click Next to continue.
Event Tracking Configuration
At this stage, you can create event tracking if needed for analytics purposes, or skip to the next step if this is not required for your current setup.
Product Upload Method Selection
Choose your preferred product uploading method. You can either connect to a data feed for automated updates or opt for a manual upload depending on your operational preferences. Click Next to proceed.
Data Feed Setup
For automated uploads, choose the upload file option and paste your Google Sheets link. The system will provide a template format on the right side showing how to structure your feed data. Download the Google Sheets template and fill in the data, ensuring that columns 1 through 10 are properly completed as these are critical for catalog functionality.
Final Catalog Configuration
In the confirmation step, provide your catalog name, select the appropriate currency, and set up hourly updates if desired. Once your catalog is created, navigate to the overview section where you can view your catalog items. You can also create multiple product sets under the catalog for better organization.
Step 3: Facebook and WhatsApp Synchronization
Connecting KWIC to Facebook
Return to the KWIC Application and navigate to your profile, then go to the e-commerce section. Under “Effortless Product”, locate the step to connect WhatsApp and copy the KWIC ID provided.
Facebook Data Source Configuration
Open Facebook and navigate to the Data Source section. Under the catalog area, click on “Assign Partner” and paste the WhatsApp ID you copied from KWIC. Enable the “Manage Catalog” option and click Accept to complete the partner assignment.
Completing the Integration
Copy the Catalog ID from Facebook and return to KWIC. Navigate to the e-commerce section, paste the Catalog ID, and click Connect. Once connected, select your products in the e-commerce section and click the Sync button on the right side. Your catalog products will now be visible in KWIC.
Product Set Synchronization
If you have assigned product sets, these will also sync under the catalog collections. Navigate to your KWIC profile, select the WhatsApp channel, and enable both the Catalog Cart and Catalog Visibility buttons to make your products accessible to customers.
Step 4: Automation and Customer Flow Setup
Creating Bot Flows
Return to the KWIC Application and navigate to the Automation section. Select the Bot Flow Creation option to design your customer interaction flows. Create comprehensive flows that include address collection, order confirmation, order details, and payment method attachment to ensure a smooth customer experience.
Customer Reply Management
Access the Customer Reply section in KWIC and add your designed flow materials. Navigate to the automation section, locate the Automation Actions, and enable the “Cart Item Received” feature. Select the particular flow you want to trigger when customers interact with your catalog items.
Step 5: Testing and Optimization
Comprehensive Testing Protocol
Place test orders through your WhatsApp catalog to ensure all systems are functioning correctly. Verify that all automation flows work as expected and test the payment processing functionality thoroughly. Confirm that order confirmation and tracking systems are operating properly.
Performance Monitoring
Monitor your catalog performance regularly and make adjustments as needed. Ensure that your product information is accurate and up to date, and that your automation flows provide a seamless customer experience.